Everyone certainly has their own desire to restore something useful at home. Things like tables, beds, appliances, or even cars are some but few of the many examples that enthusiasts want to restore.
The same is true in your kitchen. There are certain kitchenwares that may look old and forgotten but still valuable and could be of use if restored properly. One of those is your knives. When not properly attended, knives could easily diminish their sharpness and could form corrosion on their surface. Japanese knives, in particular, were not exempted for diminishing their qualities when not taken care of accordingly. Even with their strong qualities, Japanese Knives were also susceptible to rusting. This might be one of the most frustrating scenarios that could happen on your kitchenware. However, don’t get frustrated yet as there are ways on how you’re going to restore your Japanese knives back to their original, or probably to a better state.
Kinds of Japanese Kitchen Knives You Will Surely Love to Have
Since we are particularly dealing with Japanese Knives restoration, it will be best to first identify the kinds and qualities of some Japanese Knives that you can find in the market. I mean, in order to restore, you need to know what these knives initially look like. Otherwise, you’ll end up being satisfied with minimal improvements but not practically restoring a Japanese knife at all.
Gyuto Knife
This knife is also known as “Cow blade” and is considered an adaptation of Western’s Chef’s Knife. Gyuto knife is helpful for both cutting thin and thick meats due to its flat heel and precise tip. It is made of solid steel and is carved with superb craftsmanship, maintaining its excellent quality for a long time. Gyuto knife is a good choice for those who usually slice, mince, and dice delicate ingredients.
Santoku Knife
In terms of sharpness and lightness, the Santoku knife has the upper hand against western Chef’s knives. Boasting three virtues, these knives are functional for slicing three–meat, vegetables, and fruit. In contrast to Chef’s knives, it has a uniquely curved spine and straight edge. Santoku knife is often utilized by those who make sushi due to its versatility and precise cuts.
Deba Knife
Originated from the Edo period, Deba Knife specializes in carving meats and chopping thick meats with no maximum effort exerted. This vintage knife is also not prone to getting chips and dents. If you love serving meat for your family, then having a Deba Knife in your kitchen will surely make your preparation faster and easier.
Yanagiba Knife
Yanagiba knife, also known as Sashimi Knife, is obviously the favorite knife of chefs who usually prepare sashimi. With its length akin to a Japanese samurai sword, I could attest that this knife could be the most impressive knife you will encounter. Needless to say, this feature makes it easier to do precise slicing even with a single motion. A Yanagiba knife could make smooth thin slicing and manage to cut through slabs of meat.
Steps in Restoring a Vintage Japanese Knife
Now that you’re familiar with different Japanese knives, you can now proceed to the steps on how to restore them. The saying, patience is a virtue, is totally relatable in restoring Japanese Knives. You need to be patient enough for this process, as restoration might take up to two hours depending on the condition of your vintage Japanese knife. It might eat a lot of time on your end, but rest assured that you will be a steal of a deal once done appropriately.
Here are the steps on how to restore your beloved vintage Japanese knife:
1. Remove the chip
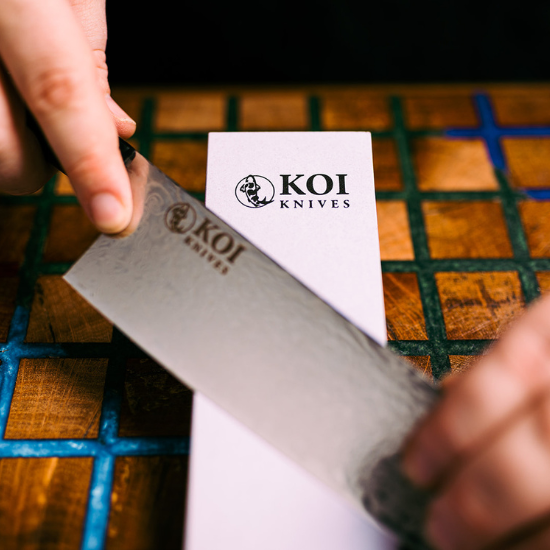
Vintage knives often have chips on their blades because they have been used for a long time. You may use Atoma Diamond Sharpener Coarse Grade #140, Atoma 140 for short, in removing the chips from the heel to the tip. Atoma 140 is suitable for sharpening and flattening the knife's surface.
2. Use the Crescent sharpening method
Using Atoma 140, glide the knife smoothly back and forth from tip to heel.
3. Remove the knife handle
Once you're satisfied with the shape and overall structure of your knife, you may remove the blade using a hammer and a piece of wood. Hold the piece of wood attached to the blade and the knife's handle, then carefully strike the wood with the hammer until the handle gets detached.
4. Remove the rust build-up
Soak the knife in a container with vinegar for 10 minutes and scrub it until the rust comes off.
5. Polish the knife
Use 140 grit to 10,000 grit sandpaper in polishing your blade. To avoid hurting your hand, use gloves and attach the sandpaper to a rod before gliding it to the knife. Don’t forget to polish the spine of the knife as well!
6. Reattach the handle
You may opt to use the previous handle or probably buy a new one. There are lots of knives handles to choose from in the market. The commonly used ones are ebony with turquoise and maple. Heat up the tang using flame and insert the knife back to its handle. Your safety should always be the priority. Don’t wait for the tang to change its color to red or the blade might be too hot for you to hold. You may use the piece of wood earlier or the hammer to strike the end of the handle, ensuring that the knife will be steady.
7. Thin off your knife
Using a whetstone, you may reduce the width of your vintage Japanese knife to improve its cutting performance. This is optional, and you may skip this if you are already satisfied with your knife's width. This can also be done if there is a large degree of surface rust and ‘pitting’ where the corrosion has exceeded just surface damage.
8. Sharpen your knife
You may use a whetstone or a manual/electric knife sharpener for this process. Sharpening your knife improves your blade's performance and helps you avoid any possible accidents in the kitchen. For proper sharpening, you may check on the article on how to properly sharpen your knives.
9. Strop your Knife
Using equine leather, strop your knife back and forth to restore your knife's minor and almost microscopic imperfections. It's often confused as sharpening, but stropping usually is the end process of knife restoration.
10. Apply Finishing touches
You may use oil or wax to polish the knife handle with a cloth. For the blade, you may use Tsubaki oil, as this oil is cold-pressed from camellia seeds that add a thin glaze to the knife. It does not only improve the appearance of your Japanese vintage knife but protects the blade as well.
Is Restoring Japanese Knives Worth it?
Sustainability, earth-friendly and economical are some of the fundamental reasons you should consider restoring your vintage Japanese knife. We all know that Japanese knives are expensive and buying a new one might not be an option. So instead of buying, why not restore a vintage one by simply following the easy step above?
It may take a few hours to do so and requires patience, but it will surely surprise you with excellent and incomparable quality.
Restoring vintage Japanese Knives is not only practical, but it will also hone your skills in knife sharpening and polishing. No matter how old a knife is, if you know how to improve its appearance and performance, it will serve you for a generous amount of time.
Here is a video from Ryky from YouTube channel Burrfection.


